This No Bake Black Forest Icebox Cake is the ultimate treat for hot summer days! With just four simple ingredients, this dessert offers a rich chocolate flavor paired with tart cherries, making it perfect for any occasion. Whether it’s a family gathering, potluck, or a cozy night in, this cake is sure to impress without the need for baking. Its creamy texture and delightful layers make it an unforgettable choice for dessert lovers.
Why You’ll Love This Recipe
- Effortless Preparation: With only four ingredients, you can whip up this dessert in just 15 minutes!
- No Baking Required: Enjoy a delicious cake without turning on the oven, keeping your kitchen cool.
- Versatile Flavor: The combination of chocolate and cherry creates a classic flavor pairing that everyone loves.
- Perfect for Any Occasion: Ideal for summer picnics, birthday parties, or just as a sweet treat at home.
- Make Ahead Convenience: Prepare it ahead of time and let it chill overnight for enhanced flavors.
Tools and Preparation
Before diving into making this No Bake Black Forest Icebox Cake, gather your tools to ensure smooth preparation.
Essential Tools and Equipment
- 9-inch Springform pan
- Large mixing bowl
- Electric mixer
- Spatula
Importance of Each Tool
- 9-inch Springform pan: Allows easy removal of the cake while keeping layers intact.
- Large mixing bowl: Provides ample space for whipping cream and mixing ingredients without spills.
- Electric mixer: Ensures whipped cream achieves the right consistency quickly and effortlessly.
Ingredients
Ingredients:
– 2 packages chocolate wafer cookies or chocolate graham crackers (about 300g)
– 1 can cherry pie filling (540ml or 2 cups)
– 2 cups heavy whipped cream (or substitute frozen whipped topping, thawed, and omit sugar)
– 1/2 cup powdered icing sugar
For Garnish
- 2 tablespoons fresh parsley, finely chopped
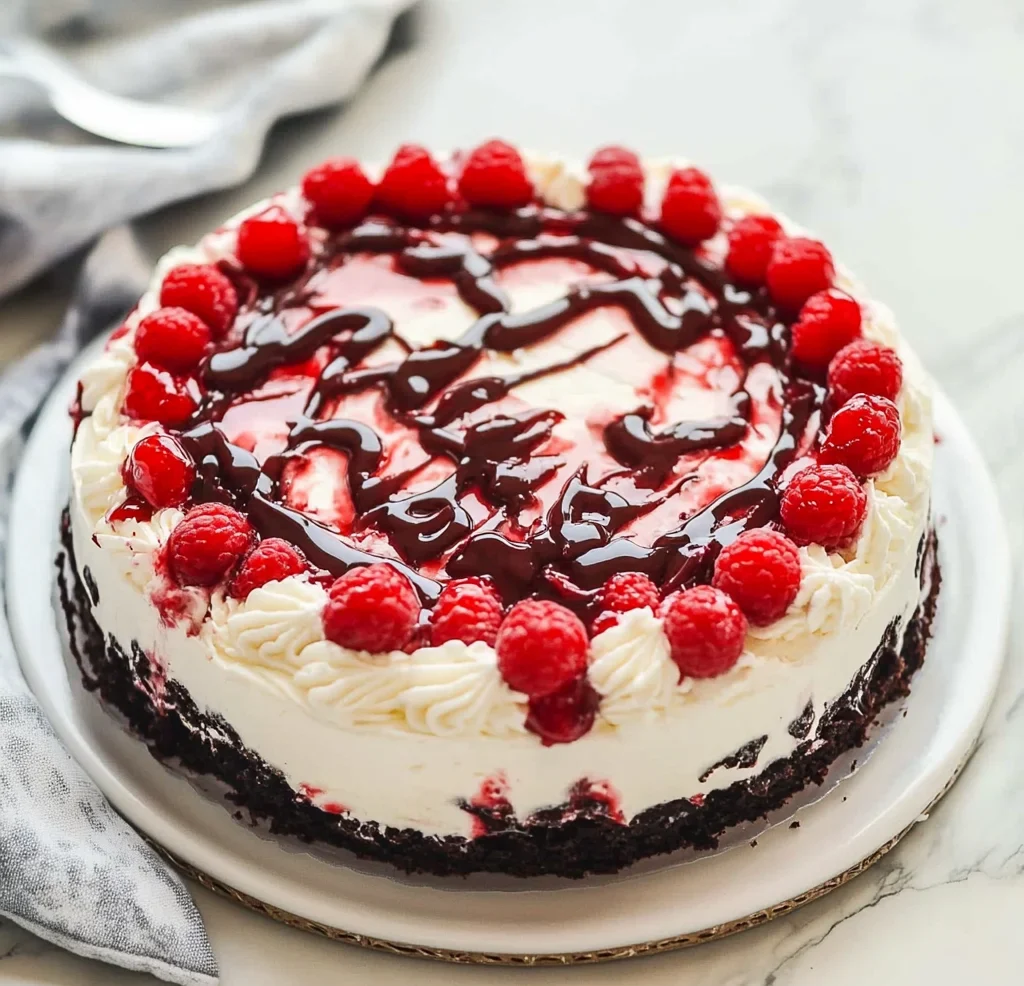
How to Make No Bake Black Forest Icebox Cake
Step 1: Prepare the Whipped Cream
In a large bowl, beat cream and powdered sugar on high speed until stiff peaks form. This step is crucial for achieving that light and airy texture. If you’re planning to keep the dessert longer, consider stabilizing your whipped cream as noted above.
Step 2: Create the First Layer
Place one layer of chocolate wafer cookies in your 9-inch Springform pan. It’s okay to break them to fit or overlap slightly. Once done, top with about one-third of the whipped cream followed by one-third of the cherry pie filling.
Step 3: Repeat Layers
Continue layering by repeating step two two more times. You should have three layers total once finished.
Step 4: Chill and Serve
Cover your cake with plastic wrap and refrigerate for at least six hours or overnight. When ready to serve, garnish with additional whipped cream if desired before slicing into pieces.
Enjoy your homemade No Bake Black Forest Icebox Cake!
How to Serve No Bake Black Forest Icebox Cake
This No Bake Black Forest Icebox Cake is perfect for gatherings and summer parties. Here are some creative serving suggestions to elevate your dessert.
Individual Servings
- Use small cups or jars to serve individual portions of the cake. This makes it easy for guests to enjoy without needing to slice the cake.
Garnish with Fresh Cherries
- Top each slice with fresh cherries for an extra burst of flavor. It adds a nice touch and enhances the visual appeal of your dessert.
Drizzle Chocolate Sauce
- A light drizzle of chocolate sauce over each serving can take your icebox cake to the next level. It adds richness and looks beautiful on the plate.
Serve with Whipped Cream
- Offer a dollop of freshly whipped cream on the side. It complements the flavors and adds a creamy texture that everyone loves.
Pair with Vanilla Ice Cream
- For an indulgent treat, serve slices of the icebox cake alongside scoops of vanilla ice cream. The cold ice cream contrasts nicely with the creamy layers.
Create a Dessert Bar
- Set up a dessert bar where guests can customize their slices with toppings like nuts, sprinkles, or additional fruit. This interactive element is fun for everyone!
How to Perfect No Bake Black Forest Icebox Cake
To ensure your No Bake Black Forest Icebox Cake is as delicious as possible, follow these helpful tips.
- Use high-quality ingredients: Selecting premium chocolate wafer cookies and cherry pie filling will significantly enhance the flavor of your cake.
- Chill longer if possible: Letting your cake chill overnight allows the flavors to meld better, resulting in a more cohesive taste.
- Stabilize whipped cream: If you’re concerned about preserving your whipped cream longer, consider adding a stabilizer like gelatin or instant pudding mix.
- Layer evenly: Ensure you spread your whipped cream and cherry filling evenly between layers for balanced flavors in every bite.
- Experiment with flavors: Feel free to add different extracts like almond or vanilla to your whipped cream for a unique twist.
- Serve chilled: This cake is best served straight from the fridge. Keeping it cold ensures it maintains its structure and refreshing taste.
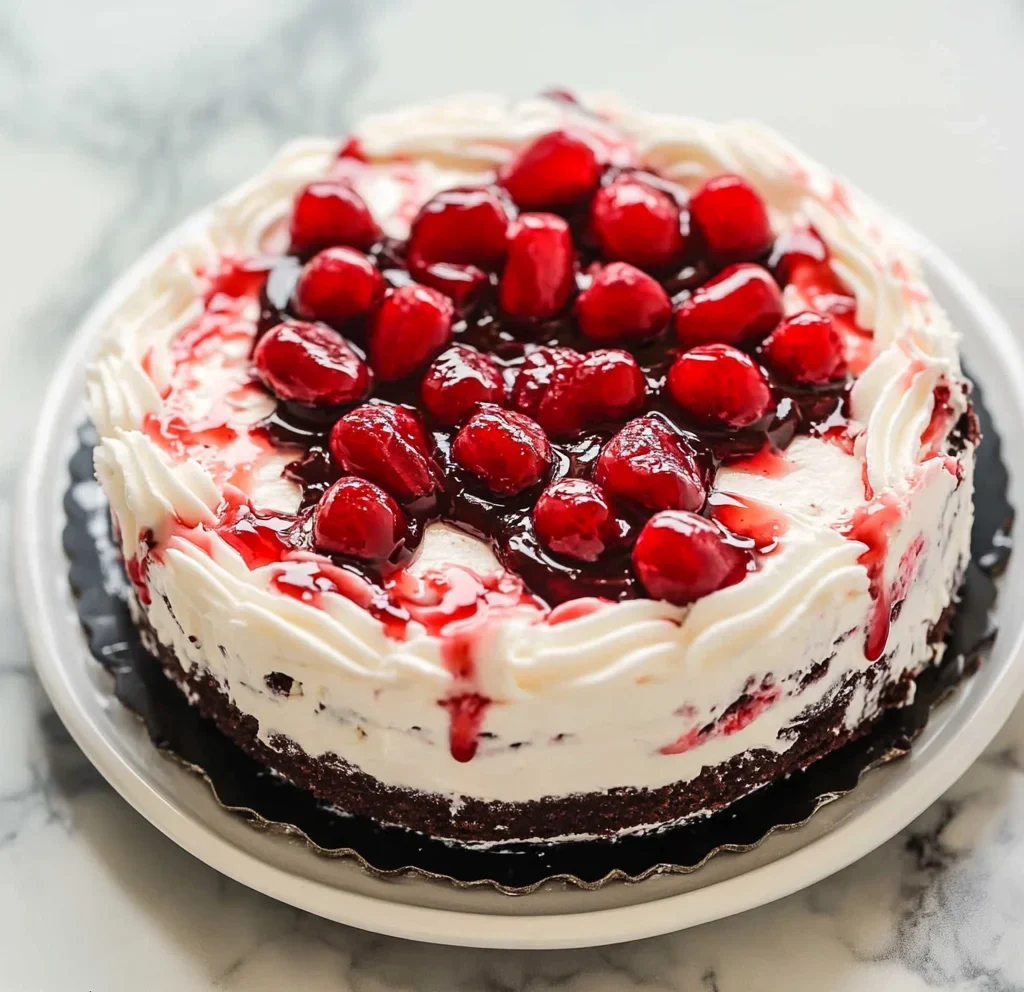
Best Side Dishes for No Bake Black Forest Icebox Cake
Pairing side dishes with your No Bake Black Forest Icebox Cake can enhance the overall experience. Here are some delightful options.
- Fresh Fruit Salad
A mix of seasonal fruits adds freshness and balances out the richness of the cake. - Chocolate-Covered Strawberries
These sweet treats are always a hit and complement the chocolatey flavors perfectly. - Minty Green Salad
A light salad with mint leaves provides a refreshing contrast to the sweet dessert. - Vanilla Bean Cheesecake Bites
These mini bites offer another layer of indulgence while still being easy to manage at gatherings. - Coffee or Espresso
Serving coffee alongside your dessert enhances the flavors and provides a warm contrast to the chilled cake. - Lemon Sorbet
The tartness of lemon sorbet cleanses the palate between bites, making it an ideal pairing with rich desserts like icebox cakes.
Common Mistakes to Avoid
This section highlights common pitfalls when making the No Bake Black Forest Icebox Cake. Avoiding these mistakes will help ensure a delicious dessert.
- Using stale cookies: Always use fresh chocolate wafer cookies or chocolate graham crackers. Stale cookies can affect the texture and flavor of your cake.
- Not chilling long enough: Make sure to refrigerate for at least 6 hours or overnight. Insufficient chilling time can lead to a cake that doesn’t hold its shape.
- Overwhipping the cream: Stop mixing once stiff peaks form. Overwhipped cream can become grainy, ruining the smooth texture of your cake.
- Skipping the layers: Don’t rush through the layering process. Each layer adds depth and flavor, so take time to spread ingredients evenly.
- Neglecting garnishes: Garnishing with extra whipped cream or cherries enhances presentation and flavor, so don’t skip this step!
Refrigerator Storage
- Store the No Bake Black Forest Icebox Cake in an airtight container.
- It can be kept in the fridge for up to 5 days.
Freezing No Bake Black Forest Icebox Cake
- Wrap individual slices tightly in plastic wrap before placing them in a freezer-safe container.
- The cake can be frozen for up to 3 months.
Reheating No Bake Black Forest Icebox Cake
- Oven: Preheat to 350°F (175°C). Place slices on a baking sheet and warm for about 10 minutes.
- Microwave: Heat individual slices on a microwave-safe plate for 15-20 seconds. Be careful not to heat too long, as it may melt the cream.
- Stovetop: Use a double boiler setup with simmering water, warming gently while covered until desired temperature is reached.
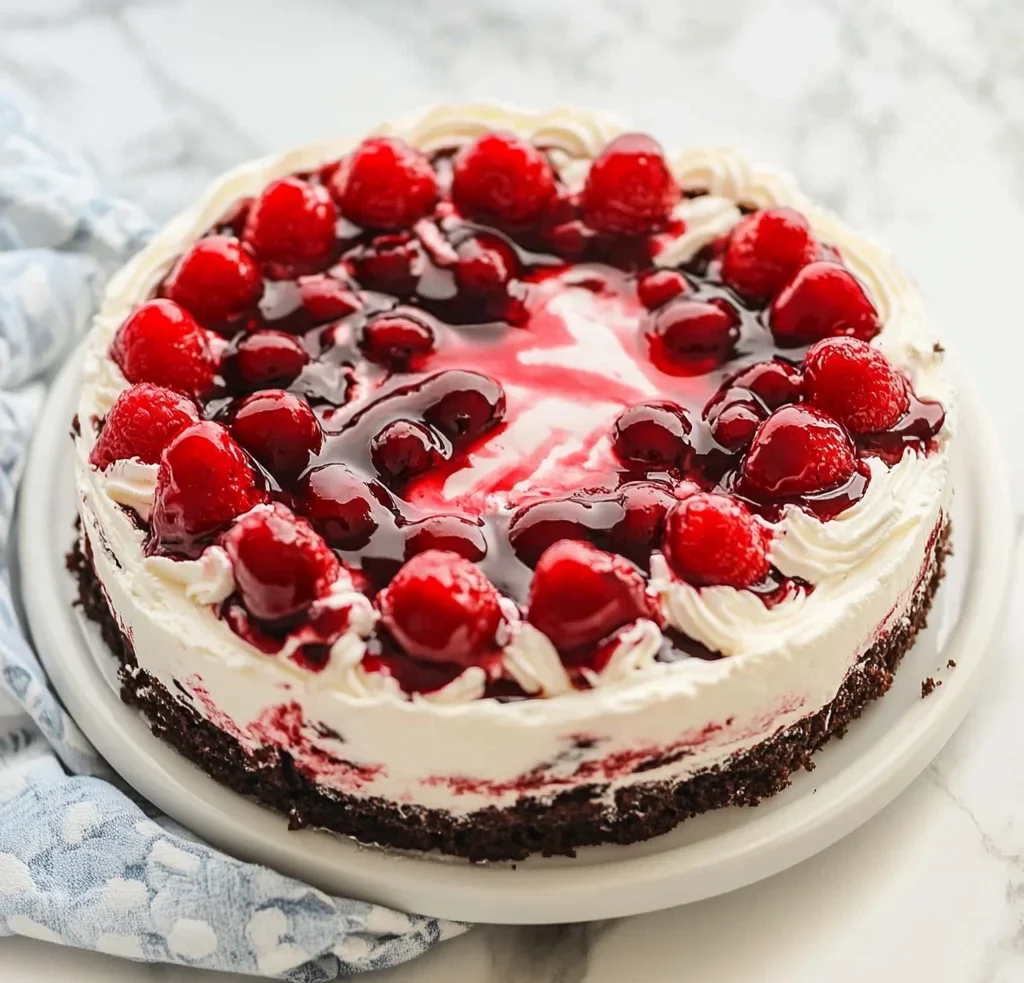
Frequently Asked Questions
What is a No Bake Black Forest Icebox Cake?
A No Bake Black Forest Icebox Cake is an easy dessert that combines layers of chocolate wafer cookies, cherry pie filling, and whipped cream without needing an oven.
Can I customize my No Bake Black Forest Icebox Cake?
Absolutely! You can add different flavors by using various fruit fillings or swapping out chocolate wafers for other cookie types like vanilla or ginger snaps.
How long does it take to prepare the No Bake Black Forest Icebox Cake?
The prep time is only about 15 minutes, but remember to refrigerate it for at least 6 hours before serving.
Is this cake suitable for special dietary needs?
You can make this cake gluten-free by using gluten-free chocolate wafers or graham crackers. For a lower-calorie version, consider using light whipped topping.
Final Thoughts
The No Bake Black Forest Icebox Cake is not only simple to make but also incredibly delicious and versatile. With just four ingredients, you can whip up a delightful dessert perfect for any occasion. Feel free to customize it with your favorite toppings or fillings to make it uniquely yours—your friends and family will love it!
No Bake Black Forest Icebox Cake
Indulge in the refreshing delight of No Bake Black Forest Icebox Cake, a dessert that perfectly blends rich chocolate, tart cherries, and creamy whipped topping—all without the need for an oven! This delectable treat requires just four simple ingredients and can be whipped up in a mere 15 minutes, making it an ideal choice for summer gatherings, cozy nights in, or any occasion where you want to impress without the fuss of baking. Each layer of chocolate wafer cookies and cherry pie filling creates a luscious experience that’s not only visually appealing but also incredibly satisfying. Perfectly chilled overnight, this cake offers enhanced flavors that everyone will rave about.
- Prep Time: 15 minutes
- Cook Time: None
- Total Time: 0 hours
- Yield: Approximately 12 servings 1x
- Category: Dessert
- Method: No Bake
- Cuisine: American
Ingredients
- 2 packages chocolate wafer cookies (about 300g)
- 1 can cherry pie filling (540ml or 2 cups)
- 2 cups heavy whipped cream
- 1/2 cup powdered sugar
Instructions
- In a large mixing bowl, beat heavy cream and powdered sugar on high speed until stiff peaks form.
- In a 9-inch springform pan, place a layer of chocolate wafer cookies at the bottom. Top with one-third of the whipped cream and one-third of the cherry pie filling.
- Repeat layering twice more to create three total layers.
- Cover with plastic wrap and refrigerate for at least six hours or overnight before serving.
Nutrition
- Serving Size: 1 slice (90g)
- Calories: 250
- Sugar: 19g
- Sodium: 70mg
- Fat: 18g
- Saturated Fat: 11g
- Unsaturated Fat: 5g
- Trans Fat: 0g
- Carbohydrates: 24g
- Fiber: 1g
- Protein: 2g
- Cholesterol: 50mg

Leave a Comment