
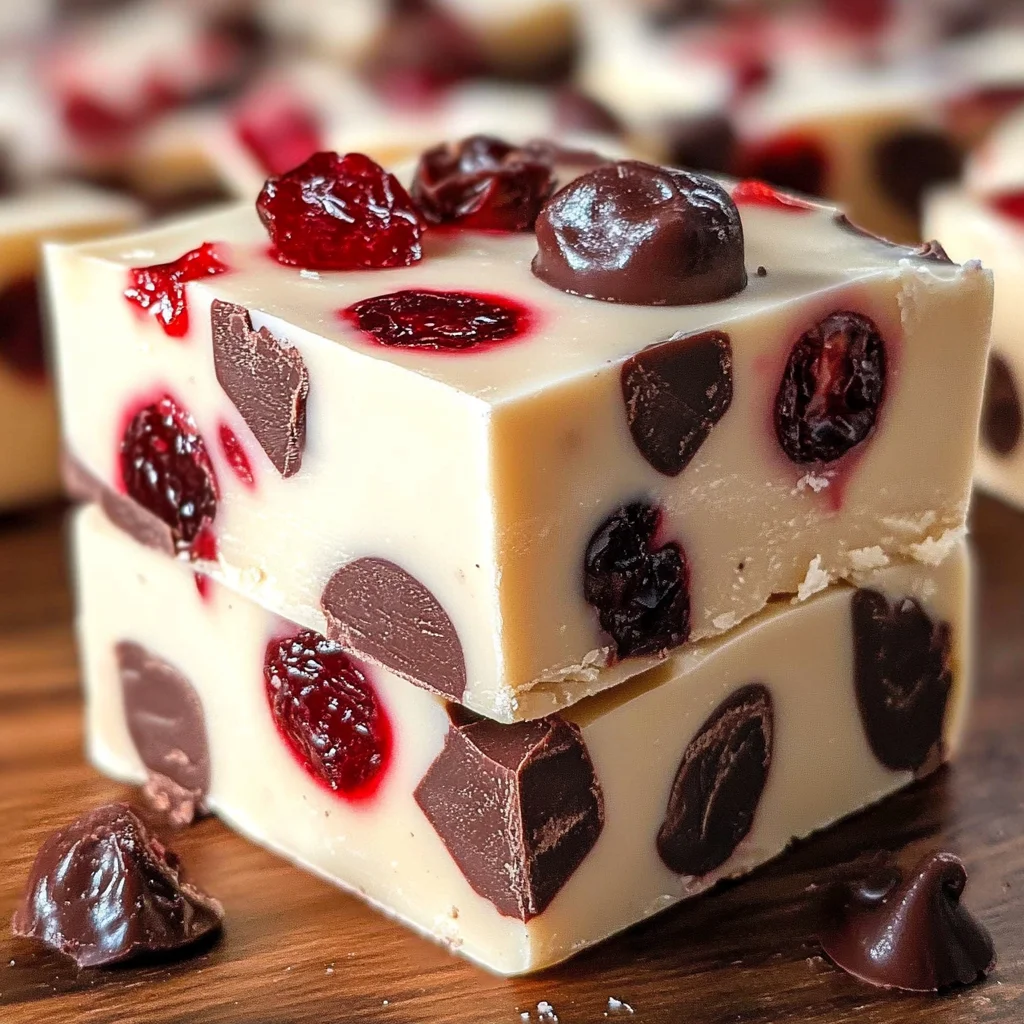
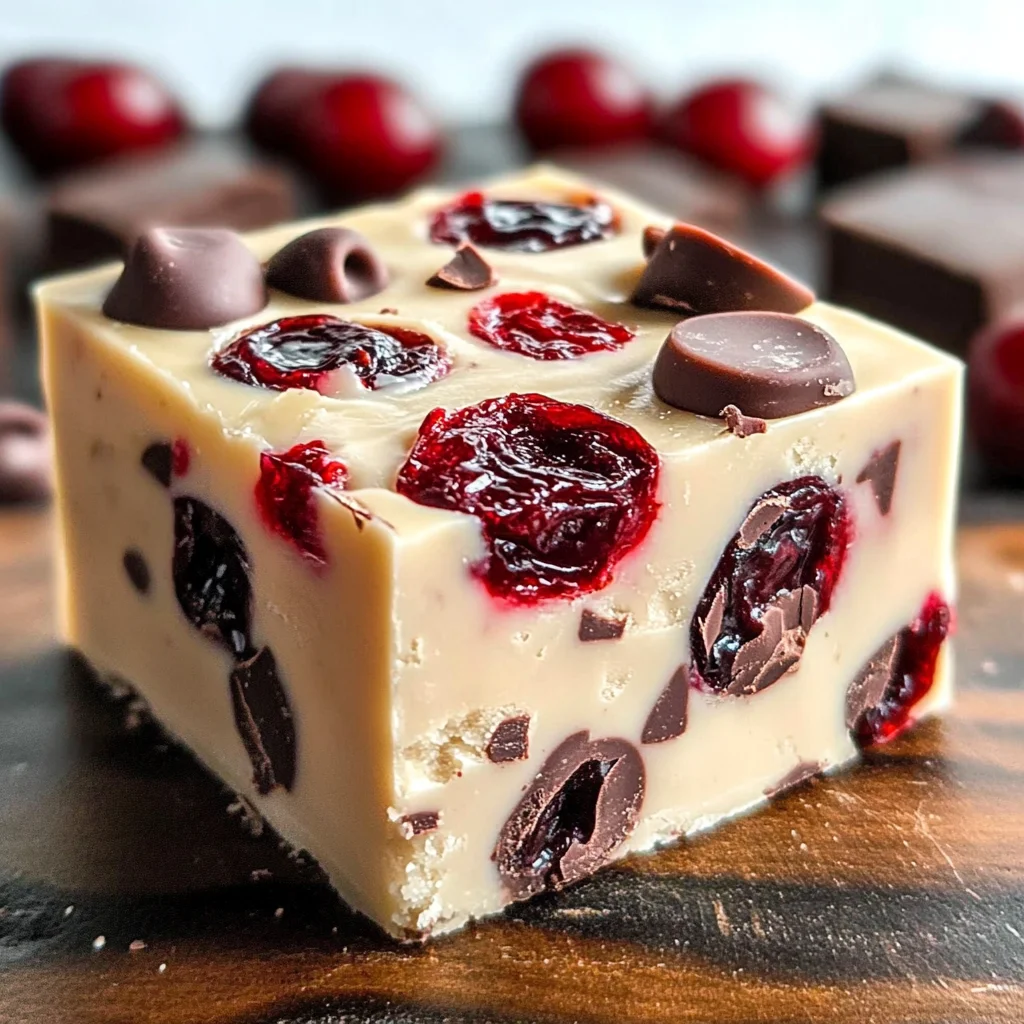
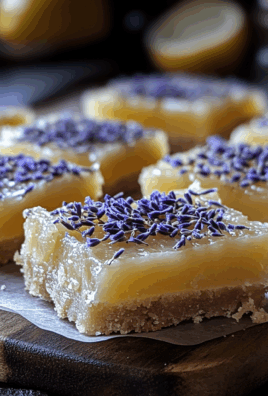
Cherry Garcia Fudge is a delightful treat that combines rich chocolate with the sweetness of cherries. This no-bake dessert is not only easy to prepare but also perfect for any occasion, from holiday gatherings to simple family get-togethers. The smooth texture and vibrant flavors make it a standout choice for satisfying your sweet cravings.
Why You’ll Love This Recipe
- Quick and Easy – With just a few simple steps, you can whip up this delicious fudge in no time.
- Crowd-Pleaser – Its unique combination of chocolate and cherries makes it a favorite among friends and family.
- Versatile Dessert – Perfect for various occasions such as birthdays, holidays, or just a treat for yourself.
- No-Bake Convenience – Skip the oven! This recipe requires minimal cooking and is ideal for warm days.
- Gift-Worthy Treat – Packaged nicely, this fudge makes a thoughtful gift for loved ones.
Tools and Preparation
To make Cherry Garcia Fudge, you’ll need some essential tools to ensure a smooth process. Having the right equipment at hand will make your preparation even easier.
Essential Tools and Equipment
- Saucepan
- Mixing spoon
- 8×8-inch pan
- Parchment paper
Importance of Each Tool
- Saucepan – Ideal for melting chocolate evenly without burning it.
- Mixing spoon – Ensures all ingredients are well combined for a smooth fudge.
- 8×8-inch pan – The perfect size for setting your fudge into squares.
- Parchment paper – Prevents sticking and makes removing the fudge hassle-free.
Ingredients
Here are the ingredients you’ll need to create your Cherry Garcia Fudge:
For the Fudge Base
- 2 cups white chocolate chips
- 1 can (14 oz sweetened condensed milk
- 1 teaspoon vanilla extract
- ¼ teaspoon salt
For the Add-Ins
- ½ cup dried cherries (chopped)
- ½ cup dark chocolate chunks
How to Make CHERRY GARCIA FUDGE
Step 1: Melt Chocolate
In a saucepan over low heat, melt white chocolate chips along with sweetened condensed milk. Stir constantly to prevent burning until fully melted and combined.
Step 2: Add Flavorings
Once melted, remove the saucepan from heat. Stir in vanilla extract and salt, mixing well to infuse flavor throughout the fudge.
Step 3: Mix in Add-Ins
Fold in chopped dried cherries and dark chocolate chunks, ensuring they are evenly distributed throughout the mixture.
Step 4: Set the Fudge
Pour the mixture into a lined 8×8-inch pan. Use a spatula to smooth out the top, creating an even layer.
Step 5: Chill and Serve
Refrigerate your fudge for at least two hours. Once set, cut into squares and enjoy your homemade Cherry Garcia Fudge!
How to Serve CHERRY GARCIA FUDGE
Serving Cherry Garcia Fudge can elevate any gathering or sweet craving moment. This rich dessert pairs well with various accompaniments, enhancing its delightful flavors.
With Fresh Berries
- Serve alongside fresh strawberries or raspberries for a fruity contrast that balances the rich fudge.
As a Sundae Topping
- Crumble pieces of Cherry Garcia Fudge on top of vanilla ice cream for an indulgent sundae experience.
Paired with Whipped Cream
- Add a dollop of whipped cream to each slice for a creamy texture that complements the fudge’s richness.
On a Dessert Platter
- Arrange the fudge squares on a platter with other desserts like cookies and brownies for a festive treat spread.
With Hot Beverages
- Enjoy with coffee or hot chocolate; the warm drink enhances the chocolatey flavor of the fudge.
How to Perfect CHERRY GARCIA FUDGE
To make your Cherry Garcia Fudge even better, consider these helpful tips. Each suggestion will help you achieve the perfect texture and flavor.
- Use Quality Chocolate – Opt for high-quality white chocolate chips for a richer taste in your fudge.
- Chill Properly – Ensure to refrigerate the fudge for at least 2 hours to allow it to set properly before cutting.
- Chop Cherries Evenly – Make sure chopped cherries are uniform in size for consistent flavor throughout the fudge.
- Avoid Overheating – Melt chocolate over low heat and stir constantly to prevent burning and clumping.
- Experiment with Add-Ins – Feel free to try other mix-ins like nuts or different dried fruits for unique variations.
Best Side Dishes for CHERRY GARCIA FUDGE
Pairing side dishes with Cherry Garcia Fudge can enhance your dessert experience. Here are some delicious options to consider.
- Vanilla Ice Cream – A classic pairing that adds creaminess and complements the cherry and chocolate flavors.
- Fruit Salad – A refreshing mix of seasonal fruits provides a light contrast to the rich fudge.
- Chocolate Chip Cookies – The combination of textures between chewy cookies and smooth fudge creates a delightful treat.
- Cheesecake Bites – Mini cheesecake bites add a tangy contrast that balances the sweetness of the fudge.
- Nutty Granola Bars – Crunchy granola bars provide texture and a hint of nuttiness that pairs well with fudge.
- Milkshakes – Blend up some milkshakes, perhaps chocolate or cherry-flavored, for an indulgent drink alongside your dessert.
Common Mistakes to Avoid
Avoiding common mistakes can help ensure your CHERRY GARCIA FUDGE turns out perfectly every time. Here are some pitfalls to watch out for:
- Not measuring ingredients accurately – Always use precise measurements for the chocolate and cherries to achieve the desired texture and flavor.
- Overheating the chocolate – Melt the chocolate slowly over low heat to prevent it from seizing up or burning. Stir constantly for smooth results.
- Skipping the chilling step – Allowing the fudge to chill for at least two hours is crucial for it to set properly. Don’t rush this step!
- Using stale ingredients – Fresh ingredients, especially dried cherries and chocolate, make a big difference in taste. Check expiration dates before use.
- Not lining the pan – Failing to line your pan with parchment paper makes it difficult to remove the fudge later. Always line it for easy removal.
Storage & Reheating Instructions
Refrigerator Storage
- Store your CHERRY GARCIA FUDGE in an airtight container.
- It will last in the refrigerator for up to 2 weeks.
Freezing CHERRY GARCIA FUDGE
- Wrap individual pieces in plastic wrap before placing them in a freezer-safe bag.
- The fudge can be frozen for up to 3 months.
Reheating CHERRY GARCIA FUDGE
- Oven – Preheat to 200°F (93°C) and warm fudge until it softens slightly, about 5-10 minutes.
- Microwave – Heat in short bursts of 10 seconds on low power until just softened, being careful not to melt completely.
- Stovetop – Place over low heat in a saucepan, stirring constantly until warmed through.
Frequently Asked Questions
Here are some frequently asked questions about making CHERRY GARCIA FUDGE:
Can I use milk chocolate instead of white chocolate?
Yes, you can substitute milk chocolate chips for white chocolate if you prefer a richer, sweeter flavor.
How do I make my CHERRY GARCIA FUDGE more cherry-flavored?
To enhance the cherry flavor, consider adding a splash of cherry juice along with the dried cherries.
Can I customize my CHERRY GARCIA FUDGE?
Absolutely! You can add nuts or other dried fruits based on your preference. Get creative!
How long does it take for CHERRY GARCIA FUDGE to set?
The fudge needs at least 2 hours in the refrigerator to set properly before cutting into squares.
What can I serve with CHERRY GARCIA FUDGE?
It pairs wonderfully with vanilla ice cream or a dollop of whipped cream for an extra indulgent treat.
Final Thoughts
CHERRY GARCIA FUDGE is a delightful dessert that’s perfect for any occasion. Its creamy texture combined with sweet cherries and rich chocolate makes it irresistible. Plus, it’s easily customizable—feel free to experiment with different mix-ins! Give this recipe a try; you won’t be disappointed!
Cherry Garcia Fudge
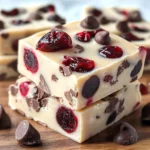
Indulge in the delightful taste of Cherry Garcia Fudge, a creamy no-bake dessert that marries the rich flavors of chocolate with sweet, tart cherries. This easy-to-make treat is perfect for any occasion, whether it’s a festive gathering or a cozy night in. With just a few simple steps and ingredients, you can create an irresistible fudge that will impress family and friends alike. The combination of smooth white chocolate and dark chocolate chunks, enhanced by chewy dried cherries, makes this dessert not only delicious but visually appealing too. Serve it chilled for a refreshing treat or as part of a dessert platter to wow your guests!
- Prep Time: 15 minutes
- Cook Time: None
- Total Time: 0 hours
- Yield: Approximately 16 servings 1x
- Category: Dessert
- Method: No-Bake
- Cuisine: American
Ingredients
- 2 cups white chocolate chips
- 1 can (14 oz) sweetened condensed milk
- 1 teaspoon vanilla extract
- ¼ teaspoon salt
- ½ cup dried cherries (chopped)
- ½ cup dark chocolate chunks
Instructions
- In a saucepan over low heat, melt the white chocolate chips and sweetened condensed milk together, stirring constantly until fully combined.
- Remove from heat and stir in vanilla extract and salt for added flavor.
- Fold in chopped dried cherries and dark chocolate chunks until evenly distributed.
- Pour the mixture into a lined 8×8-inch pan and smooth the top with a spatula.
- Refrigerate for at least two hours until set, then cut into squares and enjoy!
Nutrition
- Serving Size: 1 serving
- Calories: 130
- Sugar: 14g
- Sodium: 50mg
- Fat: 7g
- Saturated Fat: 4g
- Unsaturated Fat: 2g
- Trans Fat: 0g
- Carbohydrates: 15g
- Fiber: 0g
- Protein: 1g
- Cholesterol: 5mg

Leave a Comment