Quick and easy no-bake Chocolate Peanut Butter Bars are the perfect sweet treat for anytime. These bars combine rich chocolate and creamy peanut butter, making them a delightful indulgence for any occasion. Whether you’re hosting a gathering, preparing a snack for the kids, or just craving something sweet, this recipe offers a simple yet satisfying solution.
Why You’ll Love This Recipe
- Easy to Make: With no baking required, you can whip these bars up in just 15 minutes.
- Rich Flavor: The combination of chocolate and peanut butter creates an irresistible taste that everyone loves.
- Versatile Treat: Perfect for parties, potlucks, or just as a quick dessert at home.
- Customizable: Feel free to add nuts, sprinkles, or even drizzle extra chocolate on top for added flair.
- No Special Equipment Needed: A food processor and a microwave are all you need to prepare these delicious bars.
Tools and Preparation
To make these no-bake Chocolate Peanut Butter Bars successfully, you’ll need some essential tools. Here’s what you will require:
Essential Tools and Equipment
- Food processor
- Microwave-safe bowl
- 8×8 inch baking pan
- Parchment paper
- Spatula
Importance of Each Tool
- Food processor: This tool makes crushing the vanilla wafers and mixing the ingredients quick and easy.
- Microwave-safe bowl: Perfect for melting chocolate without burning it; ensures smooth results.
- Parchment paper: This helps prevent sticking, making it easier to remove the bars after they set.
Ingredients
For the Bars
- 3 cups vanilla wafers
- 2 cups powdered sugar
- 1 ¼ cups creamy peanut butter (divided)
- ¾ cup salted butter, melted (1 ½ stick)
- 1 teaspoon vanilla
- 1 cup milk chocolate chips
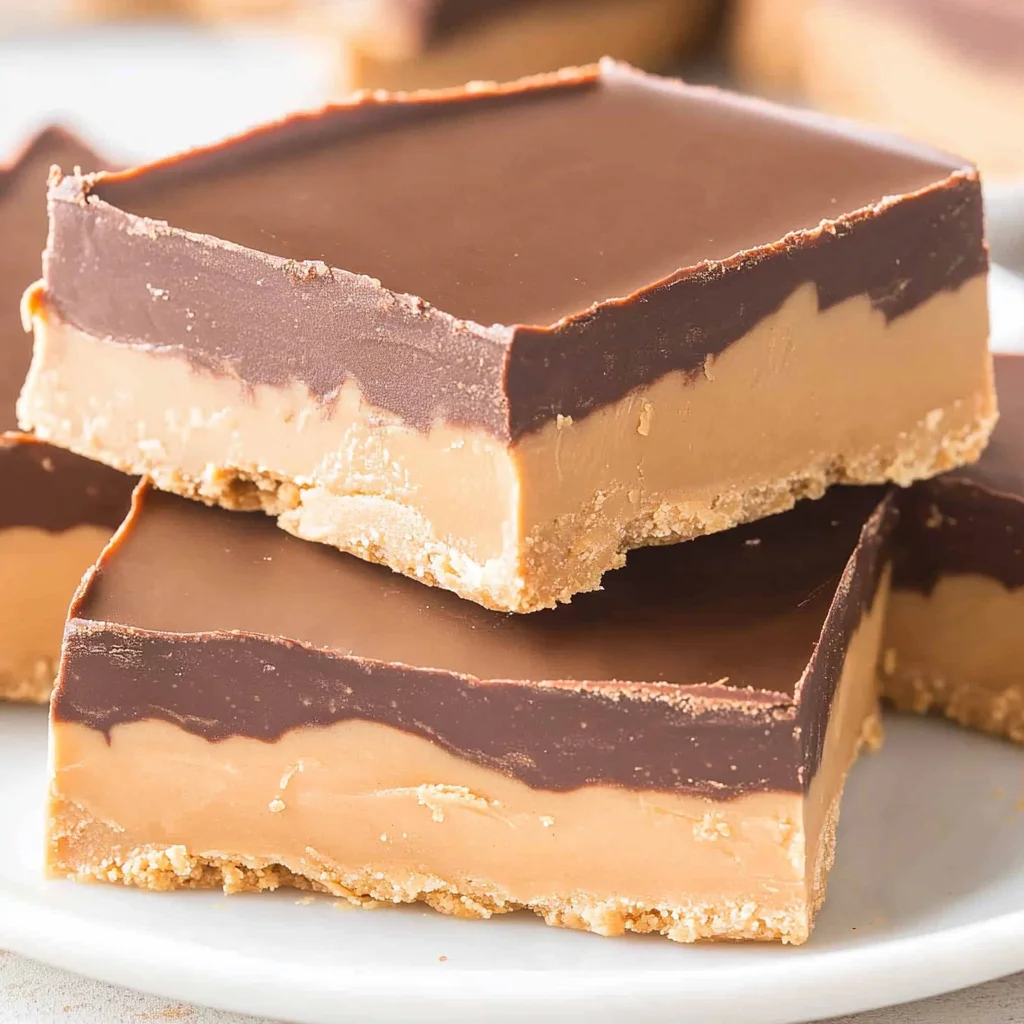
How to Make No-Bake Chocolate Peanut Butter Bars
Step 1: Crush the Vanilla Wafers
Place the vanilla wafers in a food processor and pulse until crushed into fine crumbs, about 1-2 minutes.
Step 2: Mix in Sugar
Add in the powdered sugar to the food processor and pulse 1-2 times until combined.
Step 3: Combine Wet Ingredients
Add 1 cup of the divided peanut butter, melted butter, and vanilla extract to the food processor. Blend together until a smooth, thick dough forms, about 2-3 minutes.
Step 4: Prepare Baking Pan
Line an 8×8 inch baking pan with parchment paper. Scoop in the peanut butter dough.
Step 5: Press Dough into Pan
Press the dough down into an even layer in the prepared pan. Cover it with plastic wrap and place it in the refrigerator to chill.
Step 6: Melt Chocolate Mixture
In a microwave-safe bowl, place the cup of chocolate chips and the remaining ¼ cup of creamy peanut butter. Heat for 60 seconds, then stir until smooth. If it doesn’t smooth out completely, continue heating in 10-second increments while stirring well each time. Do not overheat.
Step 7: Top with Chocolate
Pour the chocolate mixture over the top of the peanut butter layer. Use a spatula to smooth it into an even layer.
Step 8: Chill Until Set
Cover the pan with plastic wrap again and place it back into the refrigerator. Allow to chill until set, about 3-4 hours.
Step 9: Cut and Serve
Once completely set, cut into squares and serve. Enjoy your delicious no-bake Chocolate Peanut Butter Bars!
How to Serve No-Bake Chocolate Peanut Butter Bars
No-bake Chocolate Peanut Butter Bars are a delightful treat that you can serve in various ways. Whether for a casual gathering or a special occasion, these bars are sure to impress. Here are some serving suggestions to elevate your dessert experience.
Individual Portions
- Serve each bar on a small plate to create an elegant presentation.
- Garnish with a dusting of powdered sugar for an added touch of sweetness.
Ice Cream Pairing
- Place a bar on top of a scoop of vanilla ice cream for a delicious contrast.
- Drizzle with hot fudge or caramel sauce for extra indulgence.
Coffee Companion
- Enjoy your bars alongside a cup of coffee or espresso for a delightful afternoon pick-me-up.
- The rich flavors of chocolate and peanut butter complement the bitterness of coffee perfectly.
Party Platter
- Arrange the bars on a large platter with fresh fruit like strawberries or bananas.
- This adds color and freshness to your dessert spread.
Gift Idea
- Cut the bars into smaller pieces and package them in decorative boxes.
- These make great homemade gifts for friends and family during holidays or celebrations.
How to Perfect No-Bake Chocolate Peanut Butter Bars
To achieve the best results when making your no-bake Chocolate Peanut Butter Bars, consider the following tips:
- Use Fresh Ingredients: Always opt for fresh peanut butter and chocolate chips for maximum flavor.
- Chill Thoroughly: Allow sufficient time in the refrigerator to ensure they set properly; aim for at least 3-4 hours.
- Even Layering: Press the peanut butter dough firmly into the pan to create an even base, which ensures uniform slicing later.
- Microwave Carefully: When melting chocolate, heat it in short bursts to prevent burning; stir frequently until smooth.
- Customize Toppings: Feel free to add nuts, sprinkles, or sea salt on top of the chocolate layer before chilling for added texture and flavor.
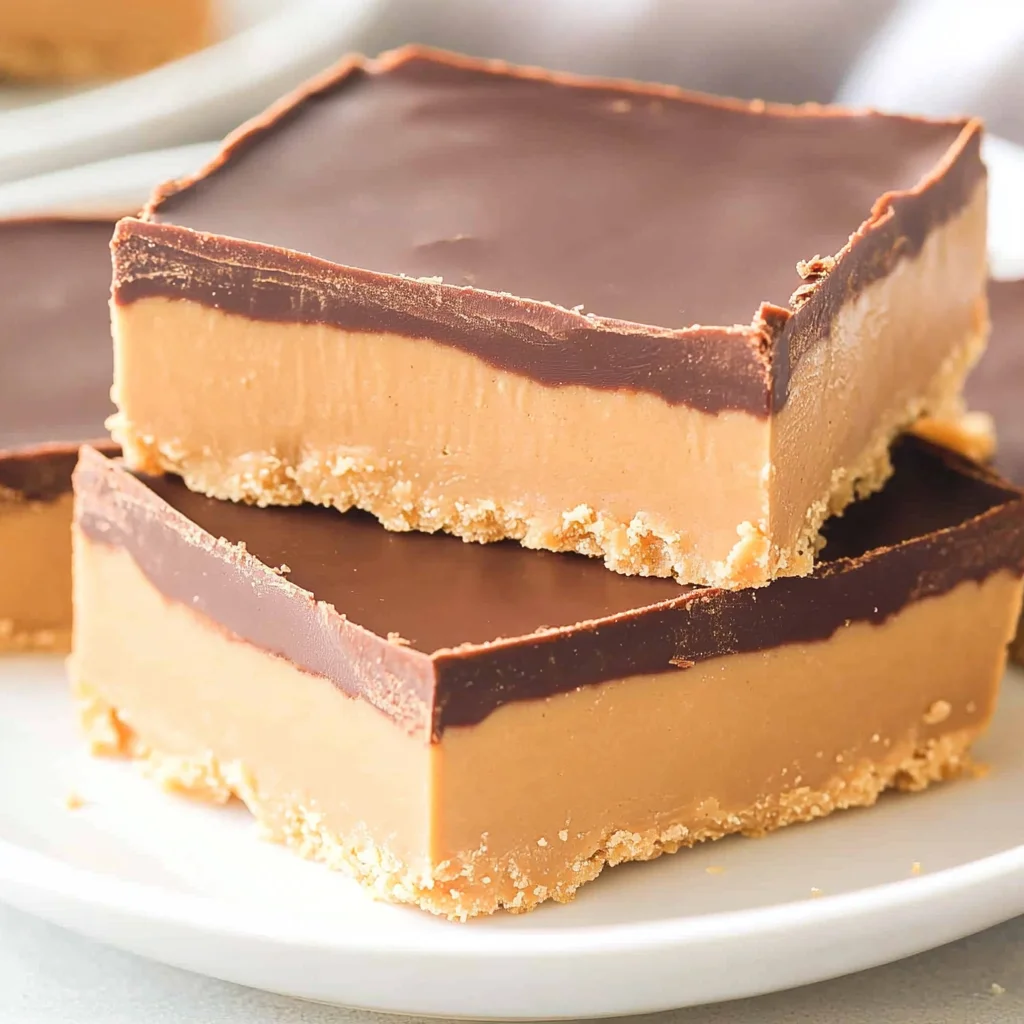
Best Side Dishes for No-Bake Chocolate Peanut Butter Bars
Pairing side dishes with your no-bake Chocolate Peanut Butter Bars can enhance the overall dessert experience. Here are some great options to consider.
- Fresh Fruit Salad: A mix of seasonal fruits provides a refreshing contrast to rich bars.
- Whipped Cream: Lightly sweetened whipped cream adds creaminess that complements the dense bars.
- Chocolate Sauce: Drizzle extra chocolate sauce over the bars or serve it as a dip on the side.
- Nutty Granola: A sprinkle of crunchy granola offers texture and pairs nicely with the creamy filling.
- Yogurt Parfait: Layer yogurt with fruits and granola for a balanced dessert option alongside the bars.
- Coffee or Tea: Serving these bars with warm beverages can enhance their flavors and make for a comforting treat.
Common Mistakes to Avoid
No-Bake Chocolate Peanut Butter Bars are simple, but small errors can affect the final product. Here are some common mistakes to watch out for:
-
Using the wrong type of peanut butter: Always opt for creamy peanut butter. Natural varieties may not hold together well, leading to crumbly bars.
-
Not chilling long enough: If you don’t chill the bars for at least 3-4 hours, they won’t set properly. Ensure you allow adequate time in the refrigerator.
-
Overheating chocolate: When melting chocolate chips, heat them slowly. Overheating can cause the chocolate to seize up and become unusable.
-
Skipping parchment paper: Lining your baking pan with parchment paper is crucial. It makes removing the bars much easier and prevents sticking.
-
Not pressing the mixture firmly: When you add the peanut butter dough to the pan, press it down firmly. This ensures even distribution and helps the bars hold their shape.
Storage & Reheating Instructions
Refrigerator Storage
- Store in an airtight container: Keep your No-Bake Chocolate Peanut Butter Bars in a sealed container to maintain freshness.
- Duration: They can last up to one week in the refrigerator.
- Layering: If stacking bars, separate layers with parchment paper to prevent sticking.
Freezing No-Bake Chocolate Peanut Butter Bars
- Freeze for longer storage: You can freeze these bars for up to three months.
- Wrap tightly: Use plastic wrap or aluminum foil to wrap each bar individually before placing them in a freezer-safe container.
- Thawing: To enjoy them later, thaw in the refrigerator overnight before serving.
Reheating No-Bake Chocolate Peanut Butter Bars
-
Oven: Preheat your oven to 350°F (175°C) and warm them for about 5-10 minutes. Avoid overheating as these bars do not need full reheating.
-
Microwave: Heat on low power in 10-second intervals until just warmed through. Be cautious not to melt them completely.
-
Stovetop: Use a double boiler method if you’d like to warm them gently. Stir occasionally until slightly softened.
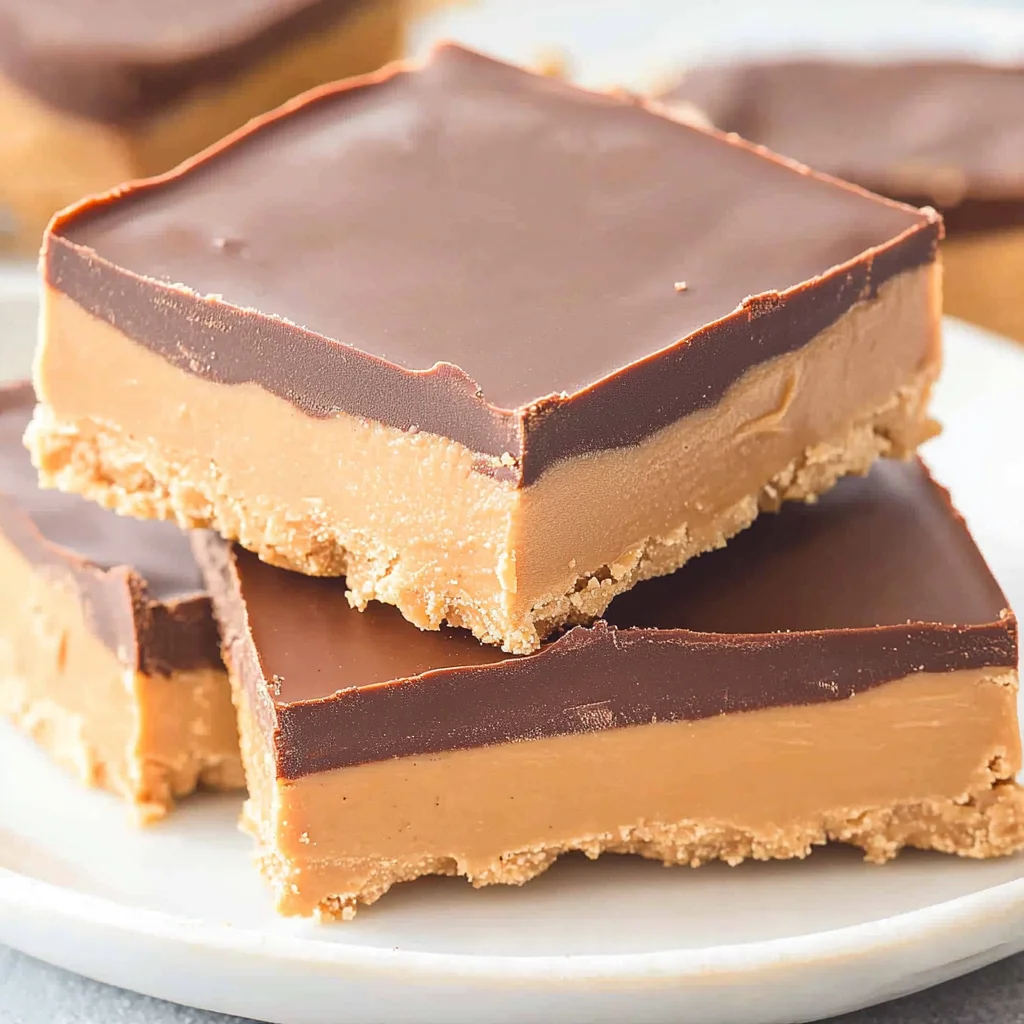
Frequently Asked Questions
Can I use crunchy peanut butter instead of creamy?
Yes, you can use crunchy peanut butter for added texture. However, it may affect how well the bars hold together.
How do I make No-Bake Chocolate Peanut Butter Bars gluten-free?
To make these bars gluten-free, ensure you use gluten-free vanilla wafers or substitute crushed nuts or oats as a base.
What toppings can I add to my No-Bake Chocolate Peanut Butter Bars?
You can top them with crushed nuts, drizzled caramel, or additional chocolate for extra flavor and texture.
Can I customize the recipe?
Absolutely! Feel free to experiment with different types of nut butters or add-ins like dried fruits or seeds for a personal touch.
How long do these bars take to set?
After pouring on the chocolate layer, they typically require about 3-4 hours in the refrigerator to fully set.
Final Thoughts
No-Bake Chocolate Peanut Butter Bars are a delightful treat that’s both easy and satisfying. Their versatility allows for numerous customization options—whether it’s adding toppings or experimenting with different nut butters. Try making these delicious bars today; they’re sure to become a favorite sweet indulgence!
No-Bake Chocolate Peanut Butter Bars
Indulge your sweet tooth with these quick and easy No-Bake Chocolate Peanut Butter Bars. Perfect for any occasion, these bars combine the rich flavors of creamy peanut butter and smooth chocolate for a truly satisfying treat. Whether you’re hosting a party, preparing snacks for your kids, or simply craving something sweet, this recipe is a foolproof solution that requires no baking—just mix, chill, and enjoy!
- Prep Time: 15 minutes
- Cook Time: None
- Total Time: 0 hours
- Yield: Approximately 16 servings 1x
- Category: Dessert
- Method: No-bake
- Cuisine: American
Ingredients
- 3 cups vanilla wafers
- 2 cups powdered sugar
- 1 ¼ cups creamy peanut butter (divided)
- ¾ cup salted butter (melted)
- 1 teaspoon vanilla extract
- 1 cup milk chocolate chips
Instructions
- Crush vanilla wafers in a food processor until fine crumbs form.
- Mix in powdered sugar until combined.
- Add 1 cup peanut butter, melted butter, and vanilla; blend until smooth.
- Line an 8×8 inch baking pan with parchment paper; press dough into the pan.
- Melt chocolate chips and remaining peanut butter in a microwave-safe bowl until smooth.
- Pour chocolate mixture over the peanut butter layer; spread evenly.
- Chill for 3-4 hours until set; cut into squares and serve.
Nutrition
- Serving Size: 1 square (45g)
- Calories: 210
- Sugar: 15g
- Sodium: 150mg
- Fat: 12g
- Saturated Fat: 6g
- Unsaturated Fat: 5g
- Trans Fat: 0g
- Carbohydrates: 24g
- Fiber: 1g
- Protein: 4g
- Cholesterol: 15mg


Leave a Comment